Users and Assets Import Utility
Return to Utilities
Overview
This utility allows you to import Users and Assets into your ServicePRO database from an ASCII text file. The utility enables you to design a template that it will follow when reading your unique source text.
- If you are importing Internal Users then you must associate them with a default Organizational Unit, or import their Organizational Units from the Source File.
- If you are importing External Users then you must associate them with a default Company, or import their associated Companies from the Source File.
- If you have created Custom Object Designer for Users, Companies, Organizational Units or Assets in your ServicePRO database, you may also import data into these fields.
You may wish to use this utility when you are getting started with ServicePRO, eliminating the data entry of information that is already stored elsewhere. In addition, the utility can be utilized on a continual basis, allowing you to periodically import User or Asset records from other management systems in your organization (e.g. accounting, contact management).
Import Requirements
ServicePRO’s Import Utility has specific requirements that should be fulfilled for use:- The Import Utility can only import ASCII files (i.e. formatted as plain text).
- All of the ServicePRO fields have a limited number of character spaces available (e.g. phone numbers are allowed a maximum of 20 characters). Any imported data exceeding the maximum field length will generate an error.
- Any headings, line spaces, etc. in your Source File will have to be removed or else they too will be imported or cause errors.
- The Import Utility automatically removes double quotation marks from imported fields. This is to deal with the problem that during a CSV (comma delimited) export from Excel, any fields in the resulting ASCII file that include a comma in the text are automatically saved with opening & closing double quotation marks around that field.
The utility allows you to import data into the following predefined User fields and related Company or Organizational Unit fields:
- User.Name
- User.Location
- User.Workstation
- User.Network Address
- User.Telephone
- User.Extension
- User.Fax
- User.Internet Address
- User.Email Address
- User.Post Office
- User.Inventory
- User.Comments
- Company.Name
- Company.Telephone
- Company.Fax Number
- Company.Street1
- Company.Street2
- Company.City
- Company.State
- Company.Code
- Company.Country
- Company.Memo
- OrganizationalUnit.Name
You can import data into the following predefined Asset fields:
- Asset.Name
- Asset.Tag
- Asset.Serial Number
- Asset.Bar Code
- Asset.Cost
- Asset.Acquisition Date
- Asset.Memo
If you have created Custom Objects for Users, Companies, Organizational Unit or Assets, you may also import data into these fields.
Running the Import Utility
- The import utility is available on the ServicePRO application server under the (default) path:
- To run the utility, click the Import Utility shortcut that was created on your Desktop after installation. Alternatively, run the Users and Assets Import Utility from the directory where it is installed:
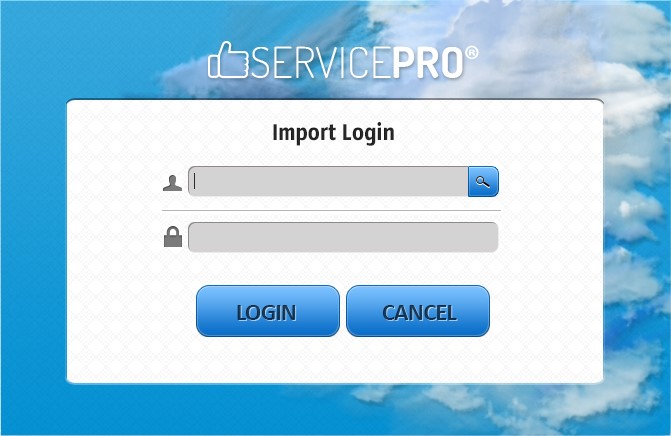
- Once launched, the Import Utility will ask you to close all running ServicePRO applications. Once ServicePRO has closed you will be asked to login again using your same ServicePRO User Name and Password to run the import utility.
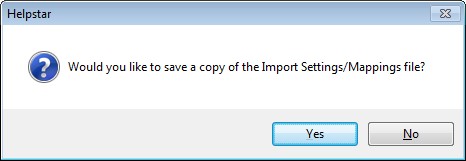
- The Import Utility has the functionality to save settings from a previous import. If you have launched the Import Utility previously, you may receive the following prompt:
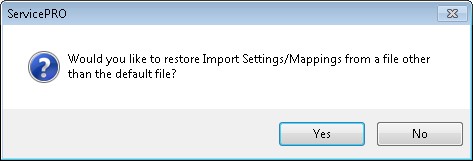
- If you would like to use settings saved in a previous import, select yes.
C:\HelpSTAR\HLPSTRCS\INSTALL\HSImportUtil.exeThis utility can be installed locally by creating a UNC path to the file on your local workstation: (for example: \\Servername\c$\HelpSTAR\HLPSTRCS\INSTALL\HSImportUtil.exe)
C:\Program Files (x86)\HelpSTARImportUtility\HSImport.exe
Performing the Import
The utility has been designed as a Wizard, which will lead you through the following steps:- File Selection
- Mapping Source File Data to ServicePRO Fields
- Setting Default Values
- Previewing Incoming Data
- Record Handling
- Import Summary
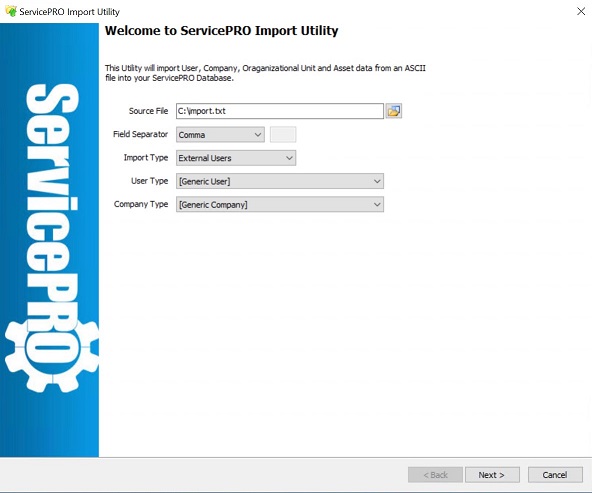
Step 1: File Selection
This is the first step in configuring the utility to import field data into ServicePRO.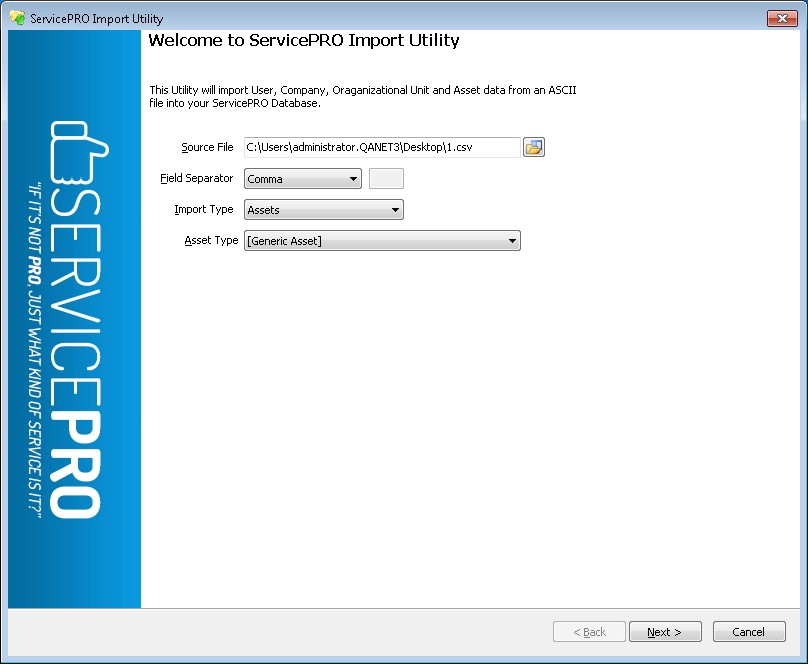
- Source File – Browse to the location of the ASCII text file that contains the records to be imported. The Source File must be in the form of a flat file, containing one record for each User or Asset being imported. If you wish to import users’ company or Organizational Unit information, then this data must also be contained in the user records.
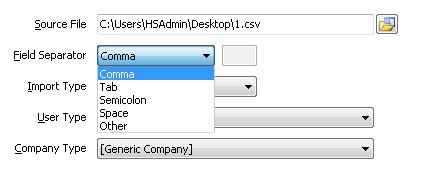
- Field Separator – Formatted ASCII data may utilize various Field Delimiters. Select the appropriate delimiter (Comma, Tab, Semicolon, Space or Other) from the drop-down menu. If you select Other then you must enter the specific delimiter (e.g. $) in the text box to the right of the drop-down menu.
- Import Type – It is important that you select the appropriate Import Type:
- Internal Users – Users that belong to your organization (generally your employees) and must either be associated with a default Organizational Unit in the ServicePRO database, or the associated Organizational Units can be imported along with the Internal Users.
- External Users – Users that belong to outside organizations (generally your clients) and must either be associated with a default Company in the ServicePRO database, or the associated Companies (and related information) can be imported along with the External Users.
- Assets – Assets only require the Asset Name to be in the source file, but other related fields can be included as well (e.g. Serial Number, Acquisition Date, aetc.).
- User Type – If your organization has created Custom Objects for users, then you may select an appropriate User Type and import data into the fields associated with that type.
- Organizational Unit, Company or Asset Type – When you select an Import Type (i.e. Internal Users, External Users or Assets) the bottom drop-down menu will change dynamically (i.e. to Organizational Unit Type, Company Type or Asset Type respectively).
- Internal Users – Generic Organizational Unit will be the only selection for Organizational Unit Type – unless your organization has created custom Organizational Unit types, in which case you may select one of these Types and import data into the Custom Object associated with it.
- External Users – You may select Generic Company, Vendor or Manufacturer as the Company Type. You can also choose a custom Company Type if you wish to import data into any Custom Object that are associated with that Type.
- External Users are associated with the
- Assets – You may select Generic Asset, Hardware, Software or Workstation as the Asset Type. You can also choose a custom Asset Type if you wish to import data into any Custom Object that are associated with that Type.
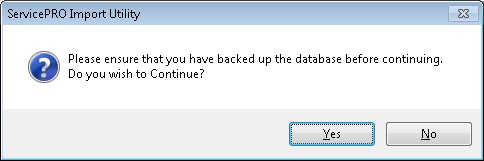
Backing Up Your Database
Once you have finished choosing your import settings, ServicePRO will ask you to make sure you have a backup of your database.
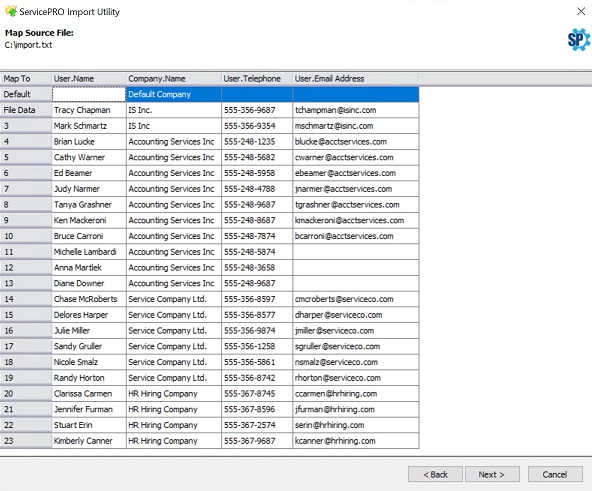
Step 2: Mapping Source File Data to ServicePRO Fields
Mapping the Source File data to the correct ServicePRO fields is the most important step in the import process. When the mapping is complete, the source File Data will be displayed in a grid, with each column representing a field in the incoming Source File.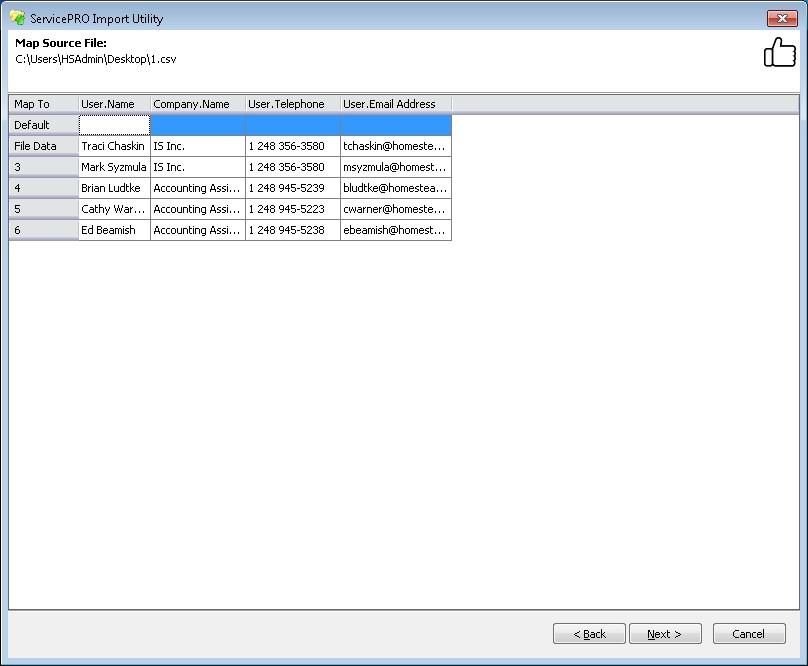
Once the Source File has been verified, users must click on the field's Map To Column header and select an appropriate ServicePRO field. A drop down menu will show a list of available ServicePRO fields. The specific fields listed will depend upon the Import Type you selected in the step.
Click on the Map To field for any column (shown below).

If the Source File contains information that does not belong in the ServicePRO database, then ServicePRO will not allow a field mapping for that column. Then, to remove a field mapping, select [None] from the drop-down menu at the head of the appropriate column.
Default Values
Users can enter default values for the Company.Name, User.Email Address, and User.Telephone fields. Whenever a Default Value is entered for a column that value will be imported each time a null value is encountered for that field in the Source File. If the User is unable to enter text into a field, it is because those fields must contain unique values (i.e. User.Name). In this example, entering default values for Organizational Unit Name, Email, and Telephone would not be appropriate so they are left empty.
Required Fields
When Users select the Internal Users or External Users Import type, the Source File must at the very least contain a User.Name field. Occasionally, user names are split into two fields – i.e. First Name, Last Name – which is discussed below.
If there is no OU.Name or Company.Name field in the Source File then Users will be prompted to select a default value when the Next button is selected.
When Users select the Assets Import type then the Source File must at least contain an Asset Name field.
First Name and Last Name
If our Source File contains user name information in 2 field forms (i.e. First Name, Last Name), then users can map two columns to be imported. Users can map the First Name column to the User.Name field, and the Last Name column to the User.Last Name field. During the import, the fields User.Name and User.Last Name will be spliced together to form the actual User.Name field in our ServicePRO database (a space will be added between the fields).
After the Mapping is Complete
Once field mapping is complete, select the Next button. Continuing with the example of importing Internal Users, if OrganizationalUnit.Name has been mapped then Users will be taken immediately to the next step of Setting Default Values for users. However, if OrganizationalUnit.Name has not been mapped, then Users will be prompted to select a Default Organization Unit for the new Internal Users.

Users will be presented with a list of all available Organizational Units in the ServicePRO database, and can either select a default Organizational Unit for all of the user records and click Next, or can click Back and map the appropriate column to the OrganizationalUnit.Name field. In the latter situation, if an Organizational Unit in the Source File is not already in the ServicePRO database then it will be created during the import.
Similarly, if we are importing External Users and Company.Name has not been mapped, then we can either select a default OU for all the user records and click Next, or we can click Back and map the appropriate column to the Company.Name field. In the latter situation, if a company in the Source File is not already in the ServicePRO database then it will be created during the import.
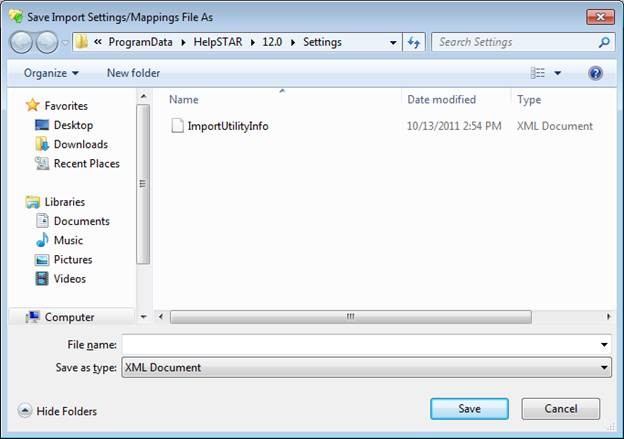
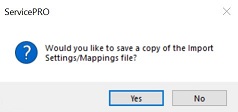
Storing Your Import Settings Note: Your Source File settings and Field Mapping can be saved for future use in an .xml file located locally on your current workstation.
Once you have completed your mappings, you will receive the following prompt:
C:\ProgramData\ServicePRO\12.0\Settings
Step 3: Setting Default Values
You are allowed to set default values for various fields during the import. Every imported User or Asset will automatically be assigned the default value you enter for a field. Note that when importing users, ServicePRO is automatically assigned as the default password but you can change this to whatever you prefer. By default, the User Login is enabled and Email is disabled but you can change these settings if you wish.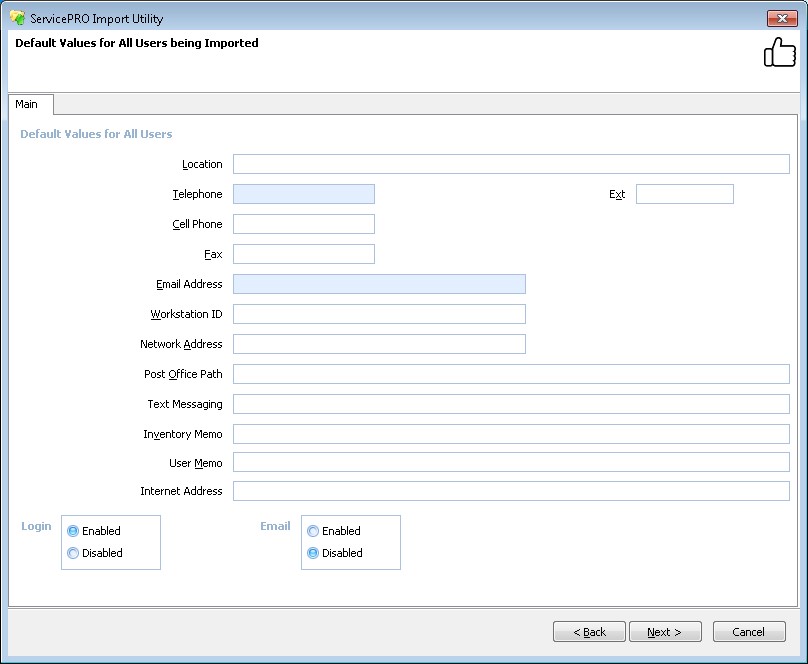
Custom Object Designer If you have created a custom field for an object, they will be shown under the tab(s) you have created for them. You can click on the tab(s) if you wish to set default values for any of these fields during the import.
FRX Validations are not applied while importing users and assets data using Import Utility.
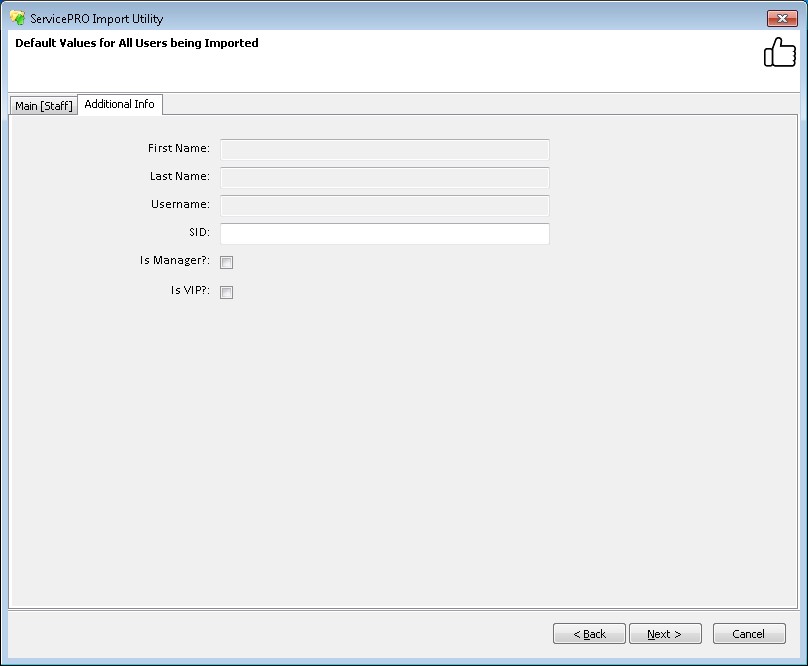
Additional Info – External User
If External User is selected from the User Type listing on the first screen, an additional tab for “Additional Info” will be available in the Default Values page.
Here, users can enter additional information to be imported, and enable or disable Manager and VIP options for that External User.
Step 4: Preview Incoming Data
Prior to performing the import, you are given the opportunity to review the incoming data to ensure that your field mapping is working properly. For example, when importing Users, the top section of the form shows user information, while the bottom shows Organizational Unit or Company information.
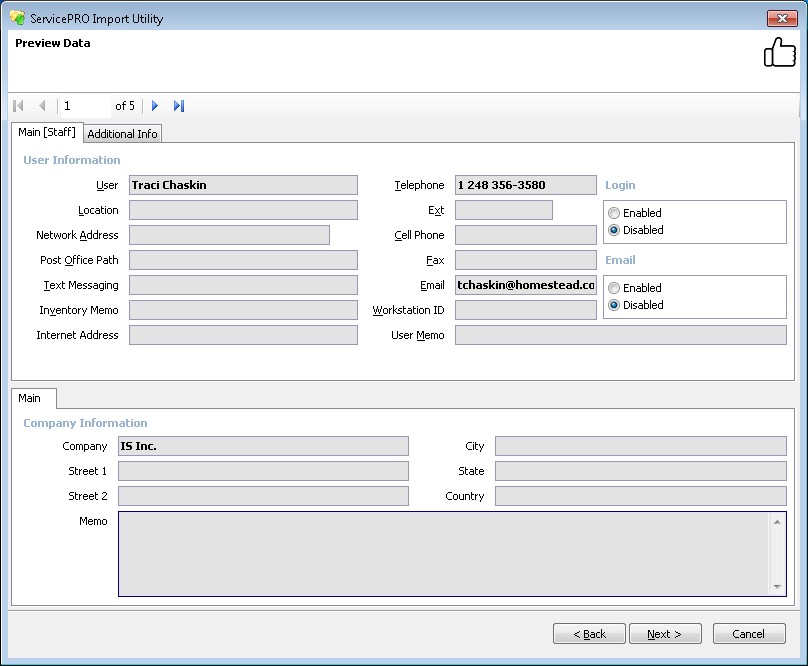
Data to be imported from the Source File is shown in bold text and the default values to be imported are shown in regular text. If there are Custom Objects associated with Users or the Company (or Companies) or the Organizational Unit, you can review their incoming data by clicking on the user defined tabs.
Navigation Buttons
The Next Record and Previous Record buttons allow you to browse through the records in your Source File if desired.
When importing Assets you can review the incoming data in the same manner as for Users except that there are no Company or Organizational Unit records to be concerned with.
Step 5: Record Handling
Prior to starting the import, you must select the appropriate Record Handling options when existing records are encountered in the ServicePRO database.
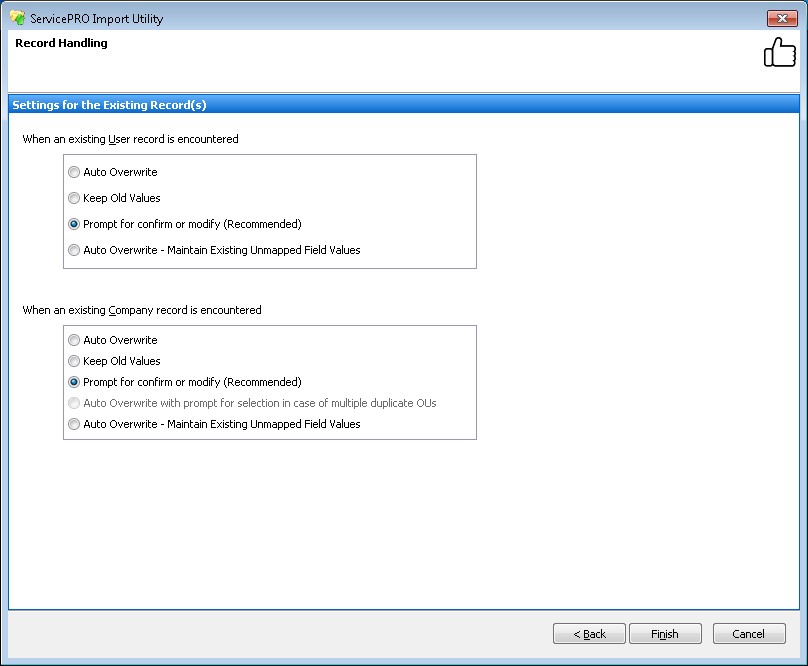
The record handling options shown above will be applied to every time an instance of User.Name, User.Email Address or Company.Name in the Source File exactly matches an existing record in the ServicePRO database. Other field information may differ although the records actually relate to the same User or Company. You can specify one of three options to handle such instances when they are encountered:
- Auto Overwrite – The User and/or Organizational Unit fields in the Source File will overwrite the corresponding fields in the ServicePRO database.
- Keep Old Values – Data from matching records in the Source File will not be written to the ServicePRO database.
- Prompt to Confirm or Modify – You will be prompted to select an appropriate action. We recommend that you select this option unless you are certain that you want to overwrite existing records. When you select this option, the system will prompt you each time an existing User or Organizational Unit record is encountered in the ServicePRO database. If a duplicate User.Name or User.Email Address is found then you will be presented with a form like the one shown below.
- Auto Overwrite – Maintain Existing Unmapped Field Values: The User and/or Organization Unit Fields in the Source File will overwrite the corresponding fields in the ServicePRO database. If they are other unmapped values in your Source File that exist within the ServicePRO database, these values will be maintained and not cleared.
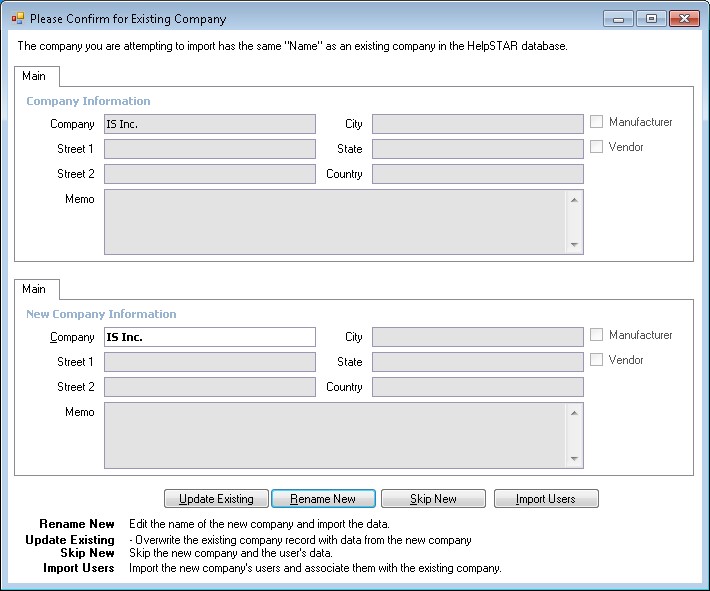
Existing Users
The form provides you with three options in dealing with duplicate Users: Add New, Update and Skip.- Add New – This option adds a new User record to the ServicePRO database. You will take this action when the record being imported is indeed a different User than the one currently existing in your database. As shown in the graphic above, the New User Morne Botes is not the same person as the existing Morne Botes – they are associated with different Organizational Units. But before you can add this new user you must modify her name since ServicePRO does not allow duplicates. A second instance of Morne Botes could be added as Morne Botes_2 or Morne Botes – Shipping to distinguish it from the existing record.
- Update – This option updates the existing User record with the data being imported.
- Skip – This User's record will be skipped and not added to the database.
Existing Organizational Units
If you have selected Prompt to confirm or modify for existing Organizational Units and a matching record is found then you will be presented with a form like the one shown below.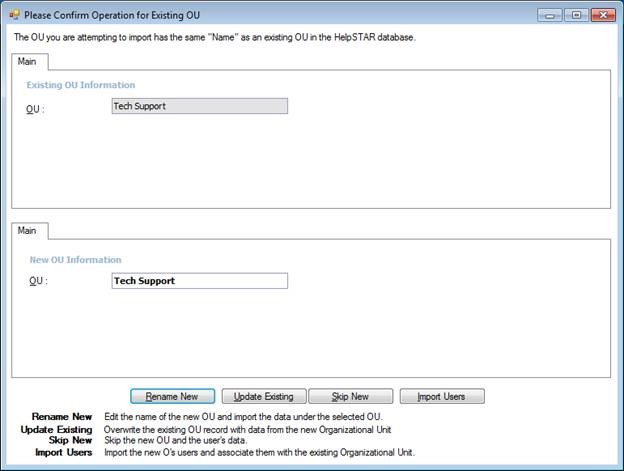
- Rename New – This option allows you to change the name of the new Organizational Unit. This Organizational Unit will then be added to the ServicePRO database.
- Update Existing – This option updates the existing Organizational Unit record with the data being imported.
- Skip New – This Organizational Unit's record will be skipped and not added to the database.
- Import Users – If the new Organizational Unit is the same as the existing one and you don’t need to update the existing Organizational Unit record, then you can select Import Users to import all of the new Organizational Unit’s users and associate them with the existing Organizational Unit in the ServicePRO database.
Importing Assets
If you are importing Assets then the record handling is similar to that for Users but there are no Company or Organizational Unit records to be concerned with. After you have selected the appropriate Record Handling options, click the Start button to commence the import.Import Summary
Once the import is complete, a summary screen will be displayed. The following example shows the summary of a User Import.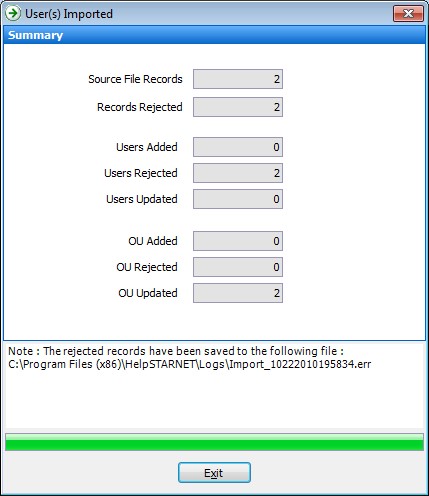
Error Logs
If any records are rejected during the import then an error file will be created on the network drive in the following folder: \HelpSTARImportUtility\LogThe file will be named according to the date and time it was created and be given the .err extension (i.e. Import_47201512410.err). This file will show all rejected records in ASCII format. If appropriate, you could correct the records in this file and then import the previously rejected data from it.
For any data errors, a different ASCII file will be created in the \Log folder. This file will be named according to the version of the Import Utility that created it and will be given the .txt extension (i.e. ErrorLog201546.txt)
Scheduling the Import Utility
Overview
Once you have run the Import Utility, you can save settings for a future import. You can also integrate Windows Task Scheduler to run the import on a scheduled basis. Import Settings that can be saved are:- Your Source File location
- Import Type (users or assets)
- Mapped Fields
Saving Import Settings
To save your Import Settings, perform the following:- Upon your first import, select a source file to import into ServicePRO.
- Map the source file fields to ServicePRO’s object properties.
- Once you click on Next, you will receive the following prompt. Click Yes to save settings.
- You will then be asked to selection a location of your Import Settings file. It will be saved in XML format. Once a name is entered, click on Save to use this file for future use.

- Once your Import Settings are saved, we can use this XML to configure a scheduled import.
Once you have an Import Settings file available, you can set a schedule on your Import. From this point, you can cancel your current Import Utility session or continue with a manual import.
Creating a BATCH File
You must first create a BATCH file that will be run when scheduling the import. In Notepad, create a file with the following script:{Import Utility EXE file location} "/username:{ServicePRO User Name}" "/password:{ServicePRO Password}" "/MappingFilePath:{File Path for Import Settings Files created in Part 1}"
Sample File:

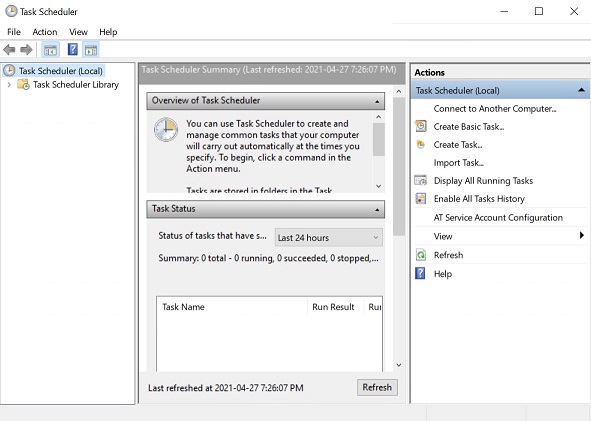
Creating a Windows Task for Scheduling
- Open Task Scheduler by clicking on Start > All Programs > Accessories > System Tools > Task Scheduler
- Under Action items, select Create Basic Task. The wizard will open.
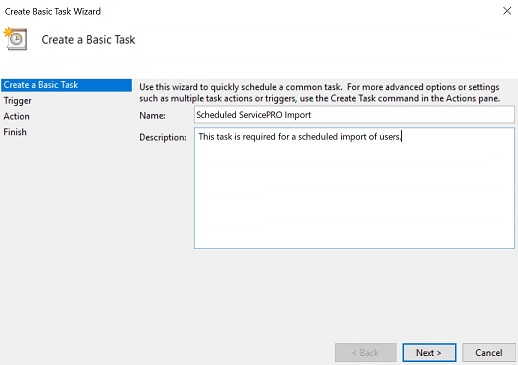
- Enter a name and description for this task. Click on Next to proceed.
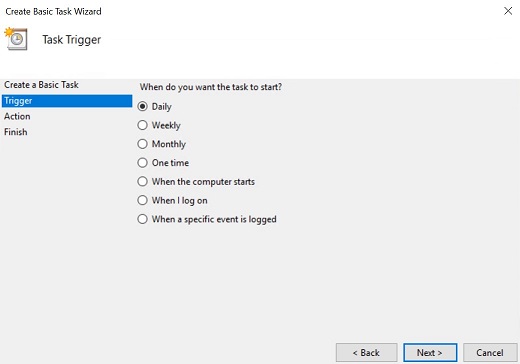
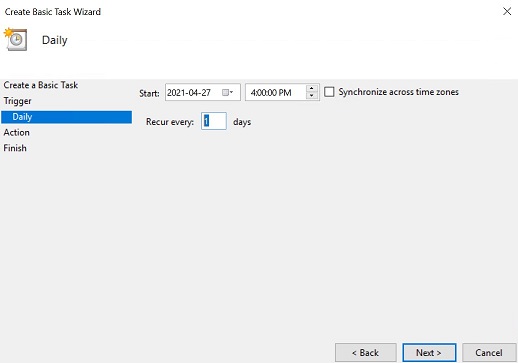
- Under Trigger, set a schedule of how often you would like this task to run. Click on Next to proceed.
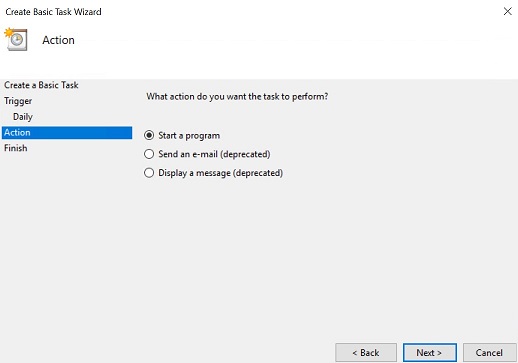
- Under Action, select the Start a Program option. Click on Next to continue.
- Under Start a Program, select the BATCH file created in Part 2. Click on Next to view a summary of this task.
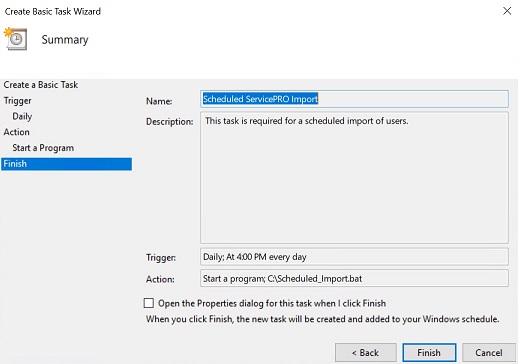
- Under Finish, you will view a summary of the task you have just created. Click on Finish to complete creating this scheduled task.
- When you scheduled import runs, you may see a command prompt run on your machine.