Configuring Calendar Synchronization
Return to Calendar
Calendar synchronization is used to synchronize the Outlook and ServicePro Calendars.
Pre-requisites
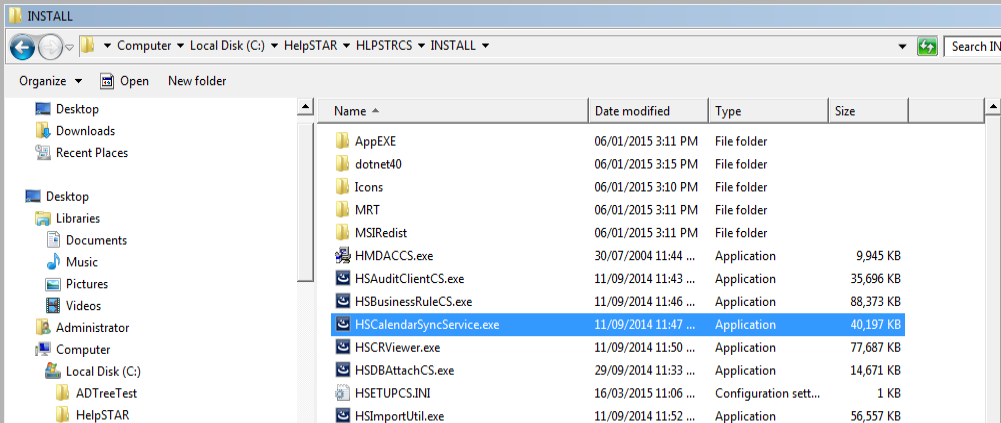
- Calendar sync must be installed on the ServicePRO Application Server (it can be installed separately by browsing to C:\HelpSTAR\HLPSTRCS\INSTALL and running the install file HSCalendarSyncService.exe)
- Calendar sync must be enabled in System Options
- Calendar sync must be enabled for the specific users in User Options
- Calendar sync needs to use Exchange Web Services (EWS)
- A Service Account (and an associated mailbox) is required. For reference we will call it CalSyncUser.
The CalSyncUser account used in System options needs to have the following Roles/Permissions.
- Full access over the mail boxes of users that will use Calendar sync
- ApplicationImpersonation role on Exchange Server
- Helpstar Outlook Integration Service must be running
Configuring Calendar Synchronization in System Options
This will set up the system wide option. The individual users can choose to Enable or Disable from User Options.
Navigate to: Setup/Administration -> Configuration -> System Options -> Calendar
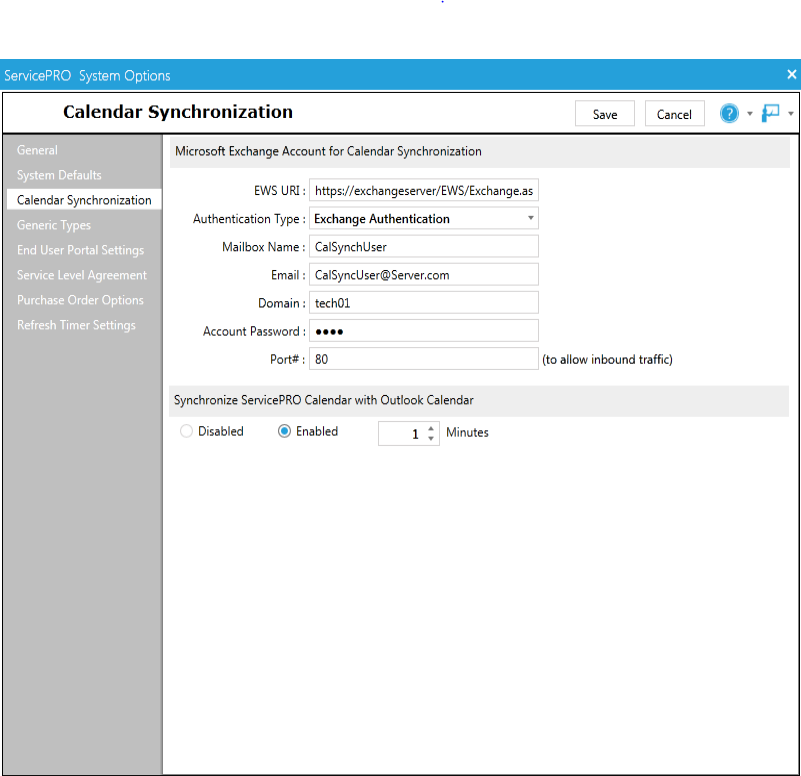
EWS URl
If the system email account is configured using EWS, enter the URI. The default URl settings for EWS are:
- https://exchangeserver/EWS/Exchange.asmx
- https://mail.domain.com/EWS/Exchange.asmx
- https://Outlook.Office365.com/EWS/Exchange.asmx
If the above is not functional, the URI can be found by the following methods:
PowerShell Command on the Exchange server
Get-WebServicesVirtualDirectory |Select name, *url* | fl

Obtained from Outlook 2007 and above
- Hold the Ctrl key and right click on the Outlook Icon in the system tray
- Select "Test E-mail Auto Configuration" from the menu
- Type in an email address located on the desired Exchange server
- Ensure that only the "Use Auto Discover" checkbox is enabled
- Click "Test"
- The line starting with "Availability Service URL" contains the EWS URL
Authentication Type
Windows Authentication: When this option is chosen, the Authentication is done via the Log On Identity on the HelpSTAR Outlook Integration Service. By choosing this method, you do not need to fill out the Mailbox Name, Email, Domain, and Account Password fields as this information will come from the service account.
Exchange Authentication: When this option is chosen, the Authentication is done from within the ServicePRO application using the Mailbox Name, Email, Domain, and Account Password information that you provide. When this Authentication is active, the Log On Identity on the HelpSTAR Outlook Integration Service should be set to LocalSystem.
EWS Authentication Kind
There are two options to choose from "Basic” and “OAUTH 2.0". By default, “Basic” EWS Authentication Kind is selected. When 'OAuth 2.0' is selected for EWS Authentication Kind, Calendar Sync Service accesses the mailboxes using the OAuth 2.0 authentication method, by utilizing the App ID, Tenant ID and Client Secret entered in the CONFIG files.
Mailbox name and Email
The Mailbox Name is the mail account name for CalSyncUser and its email address
Domain
Domain name where HelpSTAR Outlook Integration service is running
Account Password
Password for the mailbox mentioned above
Port#
As applicable
Synchronize ServicePRO Calendar with Outlook Calendar
To enable the use of this feature select the Enabled radio button The interval in minutes shows the time interval when both outlook and ServicePro calendars re-sync
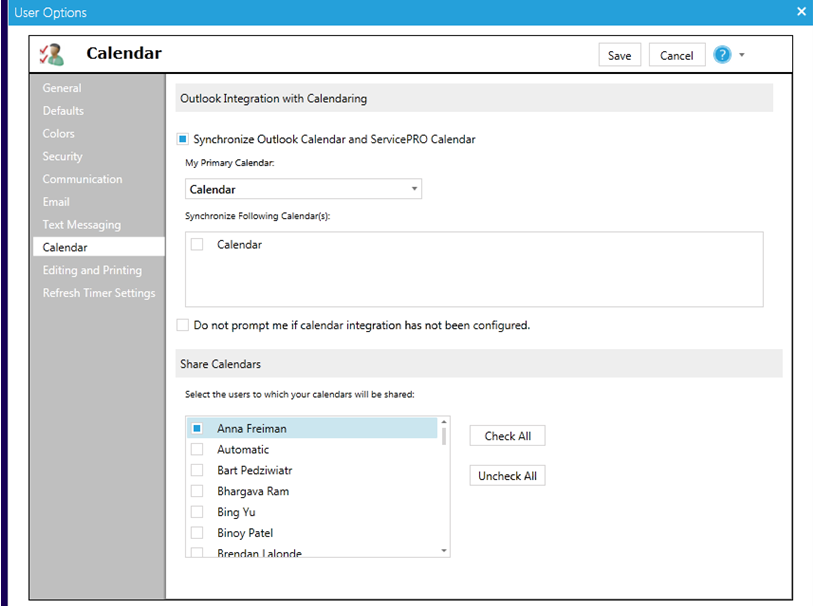
Configuring Calendar Synch in User Options for individual users
Navigate to User Options -> Calendar
This option will be grayed out if all pre-requisites are not met.
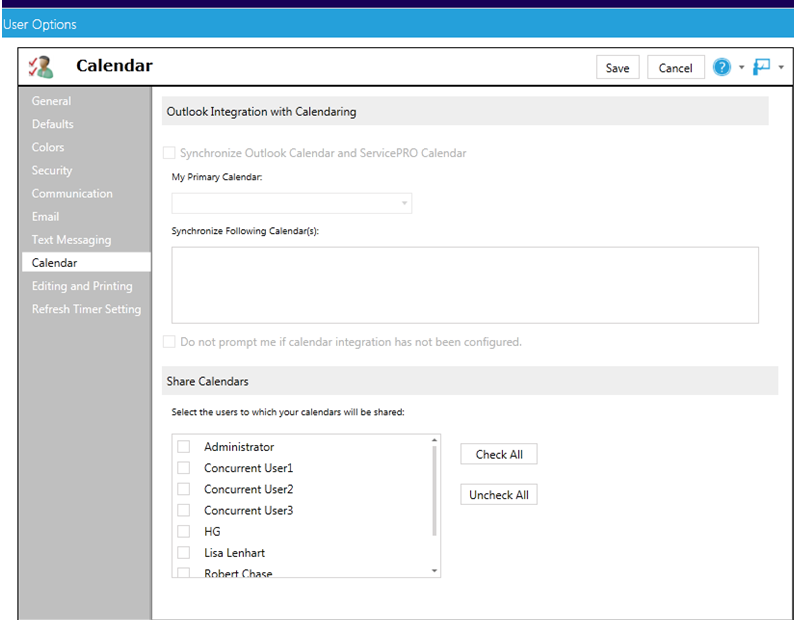
Select the checkbox for ‘Synchronize Outlook Calendar and ServicePro Calendar’
Select other users that you wish to share your calendar with.
Configuring Exchange User
- Open the Exchange Management Console.
- Choose the Mailbox for which you want to grant permission.
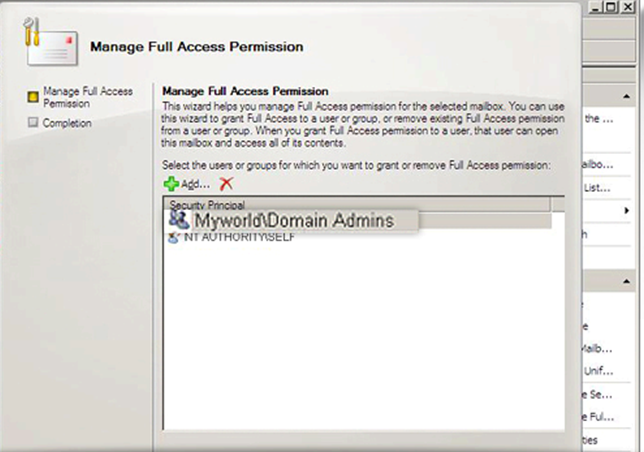
- Right-click and select the Manage Full Access Permission menu option.
- In the Manage Full Access Permission screen, Click Add and select CalSyncUser to grant full access to it over the selected mailbox.
- Click the Manage button
- Click Finish to complete the operation.
This can also be done with the following Exchange Powershell command:
Add-MailboxPermission - identity User1 - accessRights fullAccess - User "CalSyncUser"
Full Access will be granted to the CalSyncUser over the User1 mailbox, as required.
Granting Impersonate Role
To grant ApplicationImpersonation role, run the following Exchange powershell command
New-ManagementRoleAssignment -Name:impersonationAssignmentName -Role:ApplicationImpersonation -User:CalsyncUser
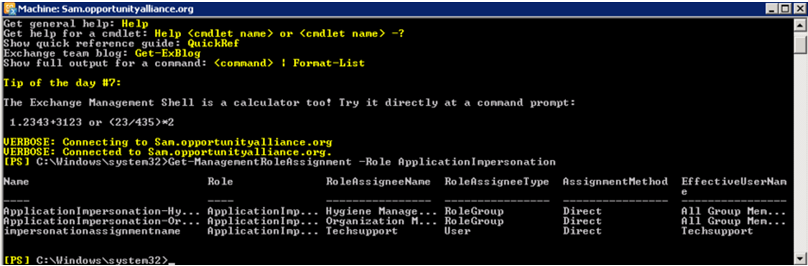
To verify if the impersonate role has already been granted run the following Exchange Powershell command:
Get-ManagementRoleAssignment –Role ApplicationImpersonation
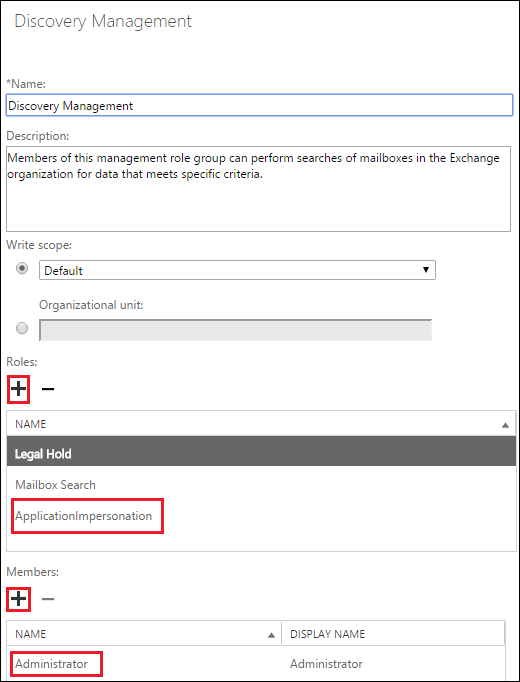
Grant EWS Impersonation in Office 365
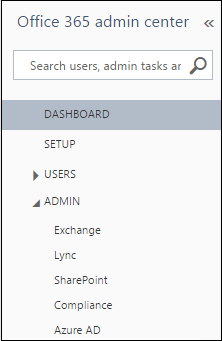
Log on to Office 365 using an admin account or log on to the Exchange Admin Center. On Office 365 access the Exchange tab:
Next, go to the Permissions then admin roles and choose Discovery Management by double-clicking it:
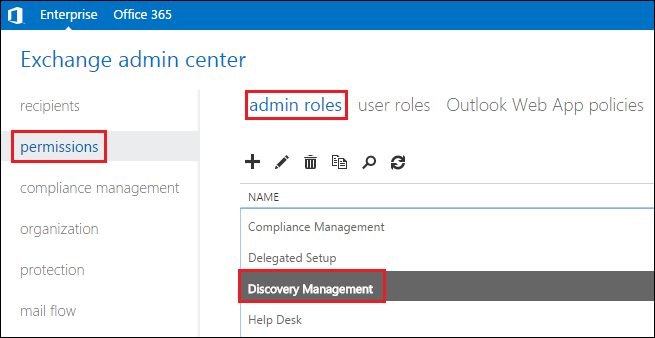
Add the Role ApplicationImpersonation as well as your admin user as the group member:
Installing the HelpSTAR Outlook Integration Service
Check the services for HelpSTAR Outlook Integration Service
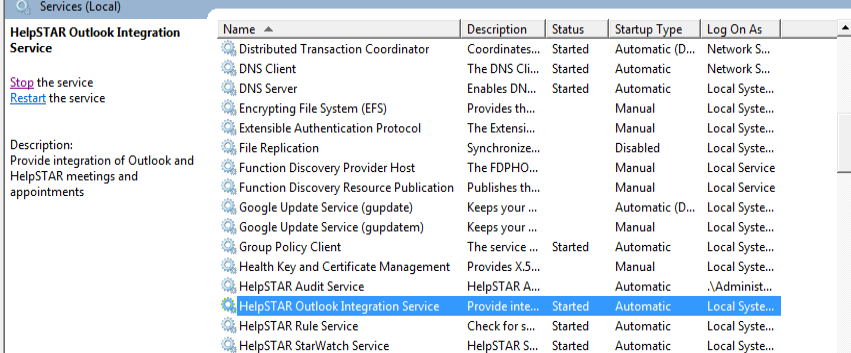
If the service is not running, install it by executing the installer from the INSTALL folder on the Deployment Server.
Tips for Troubleshooting
1. If the Calendar Option in User Options is grayed out, confirm the following:
- Check if the feature is enabled in System Options
- The CalsyncUser exists and has full access over the user's mail box and has been granted Impersonate role
- HelpSTAR Outlook Integration Service is in the 'started' state
If the above has been verfifed and the option is still grayed out, check the following:
- Firewall settings - Blocking Helpstar Services
- Antivirus blocking communication between server running Outlook Integration Service and Exchange Service
2. On first time setup, calendar only syncing from ServicePRO to Outlook - Not vice-versa
- Could be a replication delay depending on the Exchange replication cycle time
3. If Calendar sync is set up using Exchange authentication in System Options, the HelpSTAR Outlook Integration Service can run as Local System. In case it is configured using Windows authentication, and the Calendars are not syncing, run the service as the CalSyncUser account.
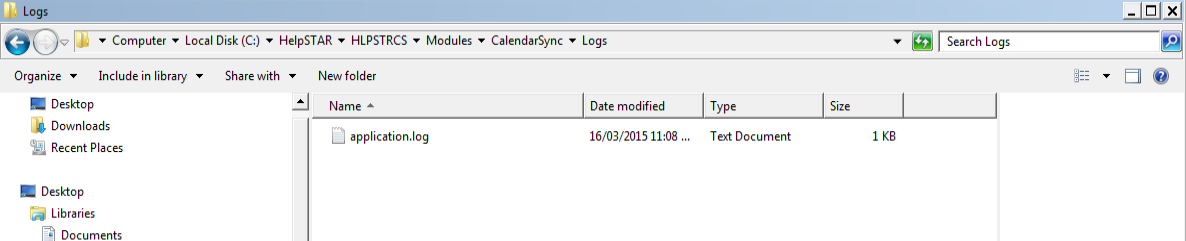
For further troubleshooting information, the logs for this service are available in the following location on the Application server